Turn a screen recording into an ASCII clip
Give a motion study or product demo a character-based texture. Bring in a recorded clip, keep its movement, and export a short ASCII version for your edit.
Open the recorded motion study with its ASCII settings already loaded. Use the playback controls below the preview to inspect the movement.
Open this look (opens in a new tab)Use it where the movement is the message.
A rotating model, a waveform or a large interface transition can make a good ASCII insert for a reel or a demo. Small menus and dense code usually become hard to read. Use the effect for a few seconds of visual emphasis, then return to the original recording when the viewer needs exact labels or instructions.
Bring a short screen-recording file, or use our six-second browser recording. You’ll choose a useful frame, tune the character grid and export a silent clip ready for your video editor.
Start with a short, readable recording.
Record the relevant app or browser window with your screen recorder, then save the clip locally. Use your phone’s screen recorder and save the video, or download the sample below. Record one clear movement with a steady frame. Crop away browser chrome, notifications and anything private before importing it. Trim to the section you want in your usual video editor; ascii.cafe doesn’t have a trim editor.
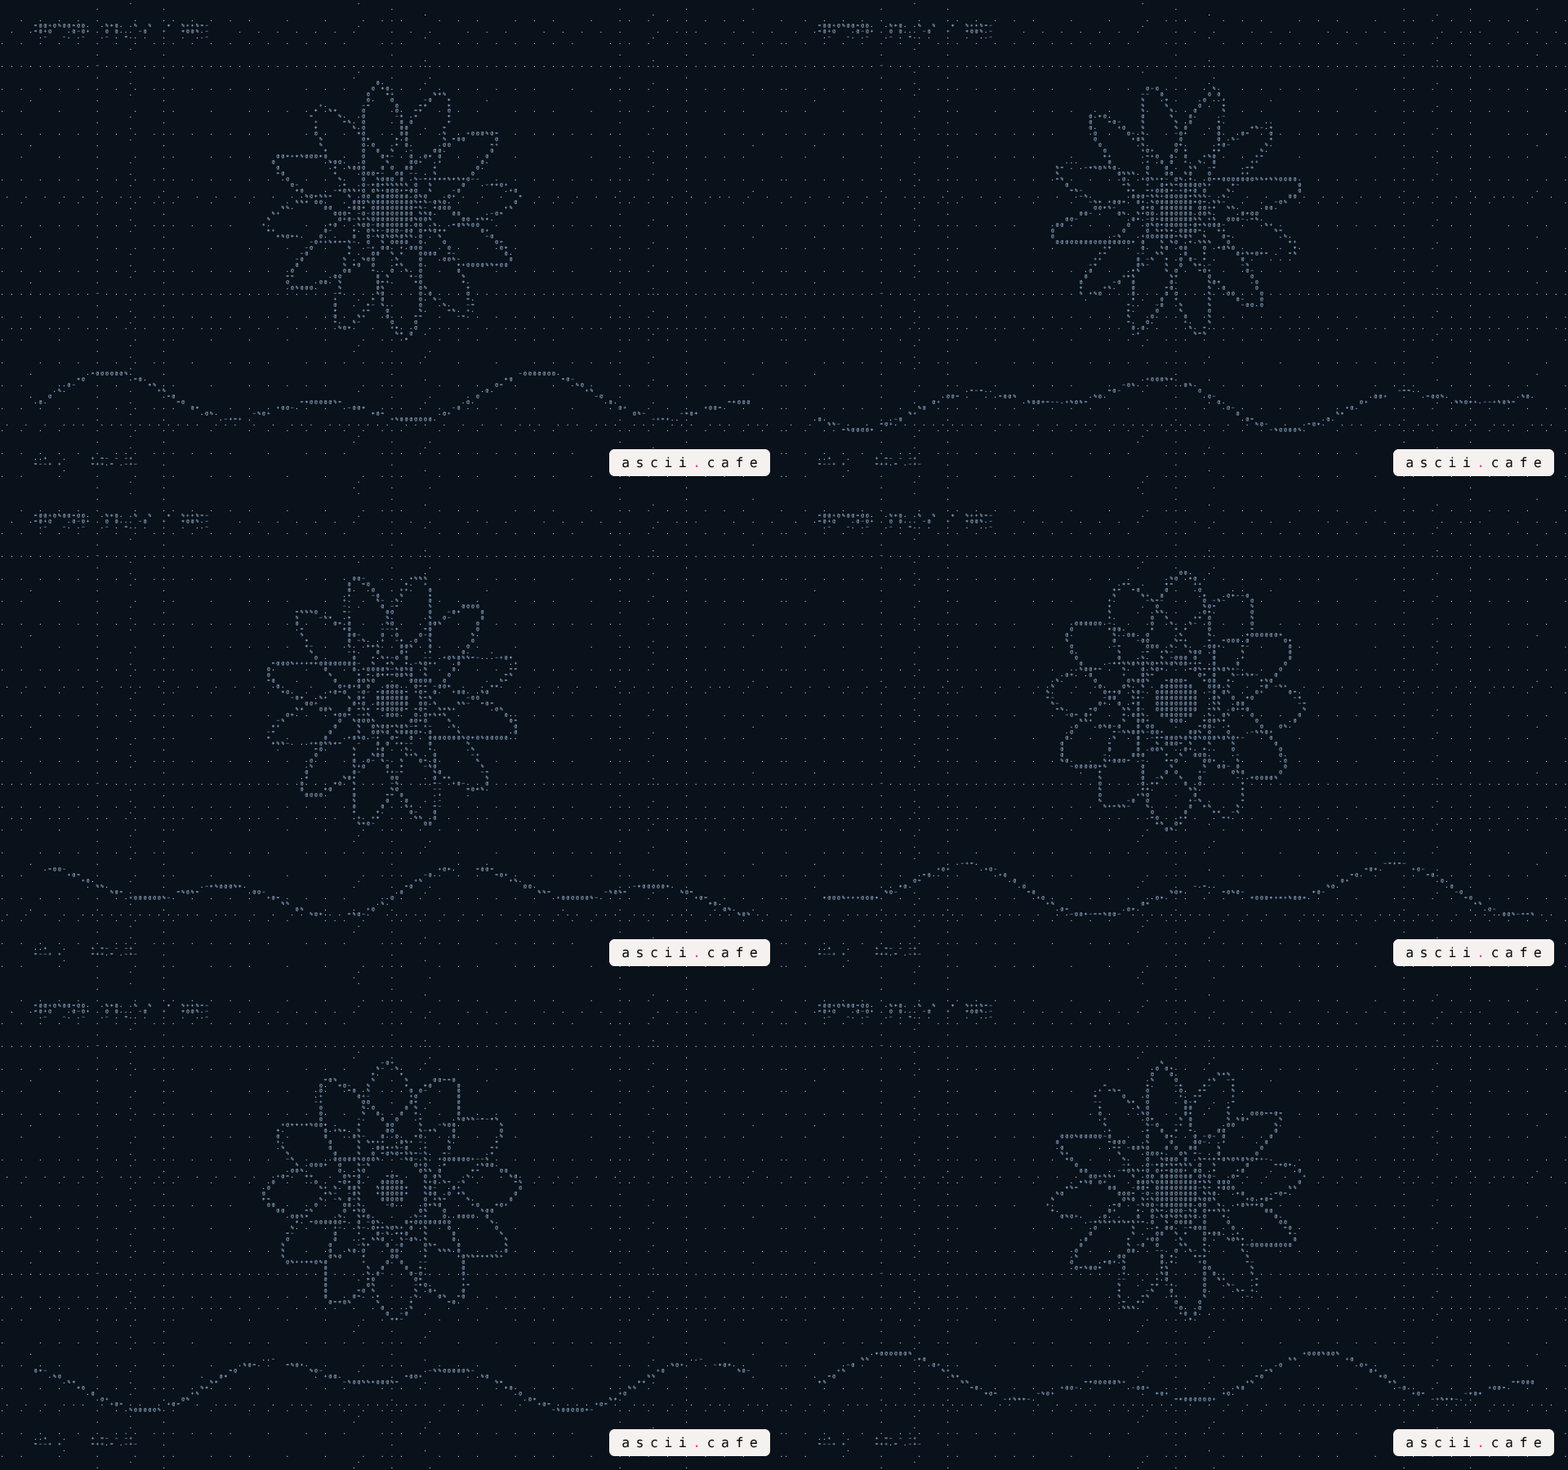
Our sample records a browser motion study with a large moving shape. Play it below to see the source. It has enough contrast to survive the character grid without relying on small interface text.
Open the sample, then load your clip.
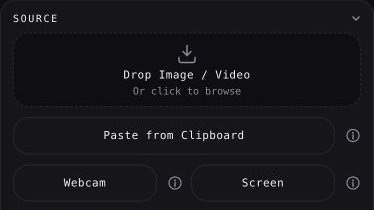
Open this look (opens in a new tab). Open Source near the top of the settings panel on the right. Scroll to the controls below the preview, then expand Source. Tap Show Controls first if they’re hidden. The sample recording loads with the demonstrated settings. To replace it, click Drop Image / Video in Source and choose your saved recording. This tutorial uses an existing video file, so you don’t need the live Screen button.
Below the preview, use Pause to inspect a frame and the playback bar to choose a frame. Choose a frame with the main shape clearly visible before adjusting the effect.
Keep enough detail to follow the motion.
Scroll down the right-hand settings panel to Knobs, below Colors. Scroll down the controls to Knobs, below Colors. The supplied look uses Style → Characters → Alphabet. In Knobs, adjust Density while watching a representative frame. More density keeps small shapes; less density makes the characters easier to see. The sample uses 91%.
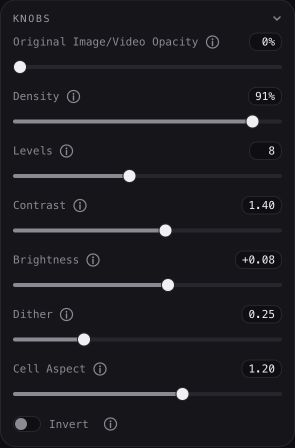
Play the clip again after each change. Detail that looks good on a paused frame can turn noisy in motion. Reduce Dither if you see too much speckling. Keep Animation set to None while tuning: the recording already provides the movement.
Choose where the clip starts.
Find the video controls along the bottom of the artwork preview. The playback controls sit on the bottom edge of the preview, above the settings. Use Pause to inspect a frame, then drag the playback bar to choose a different frame. Restart returns to the beginning. These controls appear for a loaded video file, not a still photo. The sample is six seconds long; use the full recording for your first export.
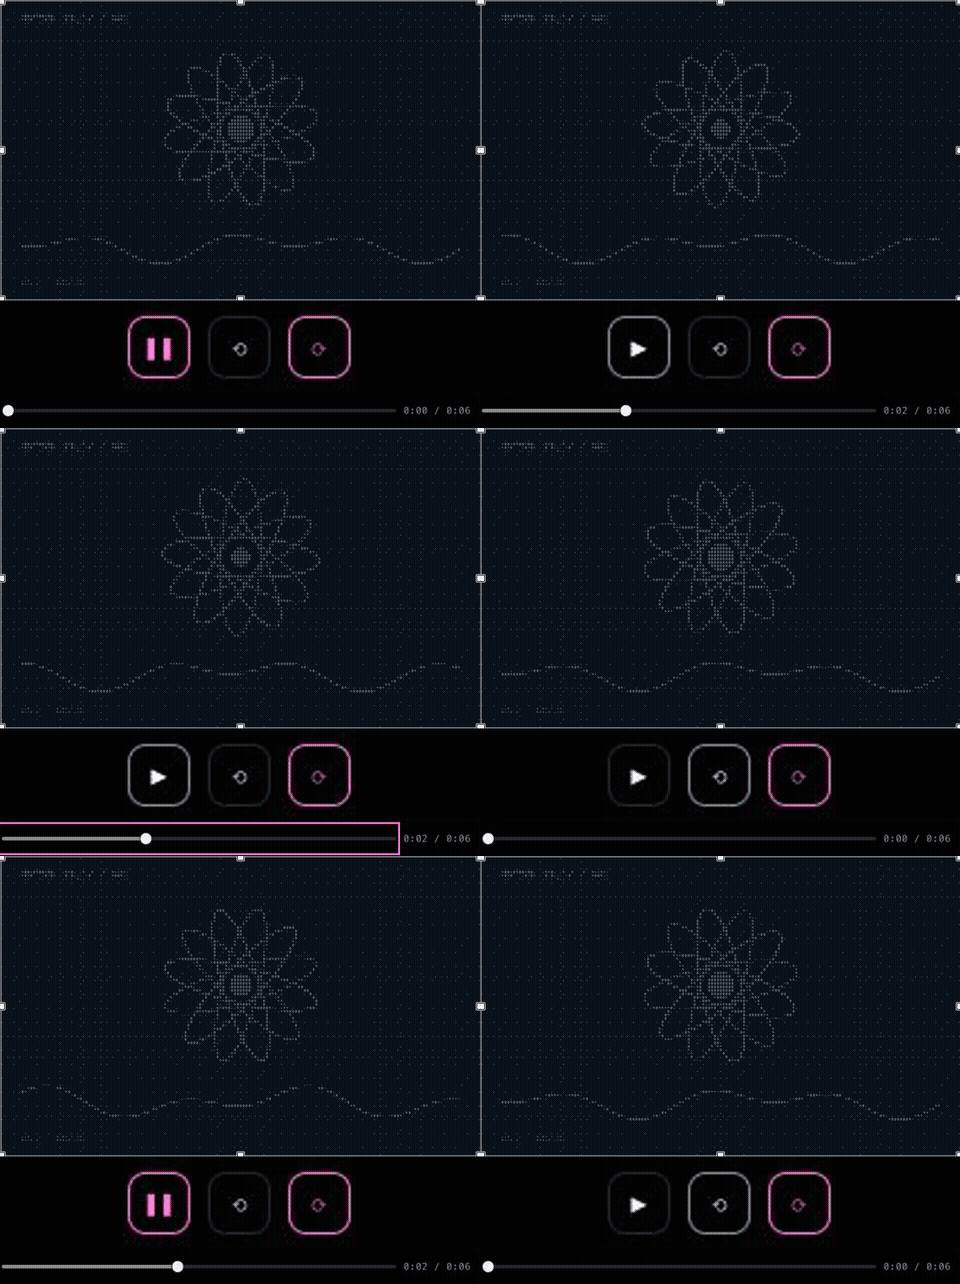
If you need an exact section of a longer recording, trim it before bringing it into ascii.cafe. Playback position changes the export’s starting point; it doesn’t cut a new source file.
Export, then bring back the audio.
Scroll to Export at the bottom of the right-hand panel. Tap Export below the preview to jump to the export controls. Click Pause below the preview, then Restart to return to the first frame. Click Export GIF. Set Length to 6 seconds for this sample, select 15 under Frame rate and choose Stage for its 960 × 600 size. Leave Loop on for a repeating GIF. Export, wait for the preview, then Download GIF.
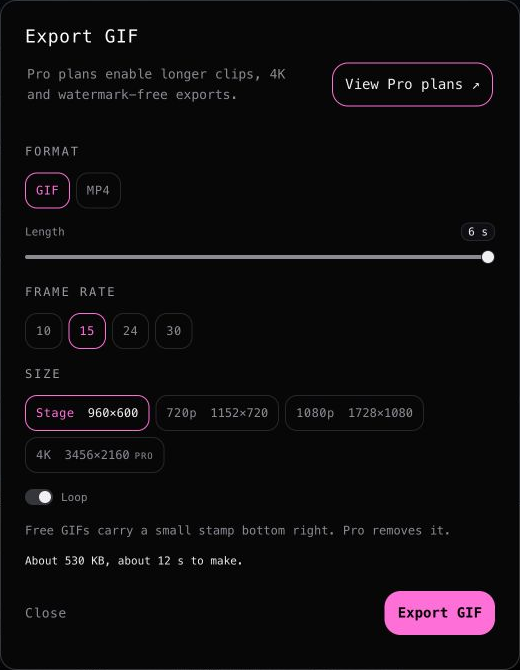
Choose Export MP4 when it’s available if you need a video file for your edit. The export begins at the current playback position and may wrap when it reaches the source’s end, so pre-trim exact segments. The file is silent: add the original audio, music or narration again in your video editor.
MAKE IT YOURS
Try a short section of your own recording.
Opens in a new tab.