A face made of words.
Make a birthday portrait from an inside joke. A familiar face takes shape in words your friend will recognize.
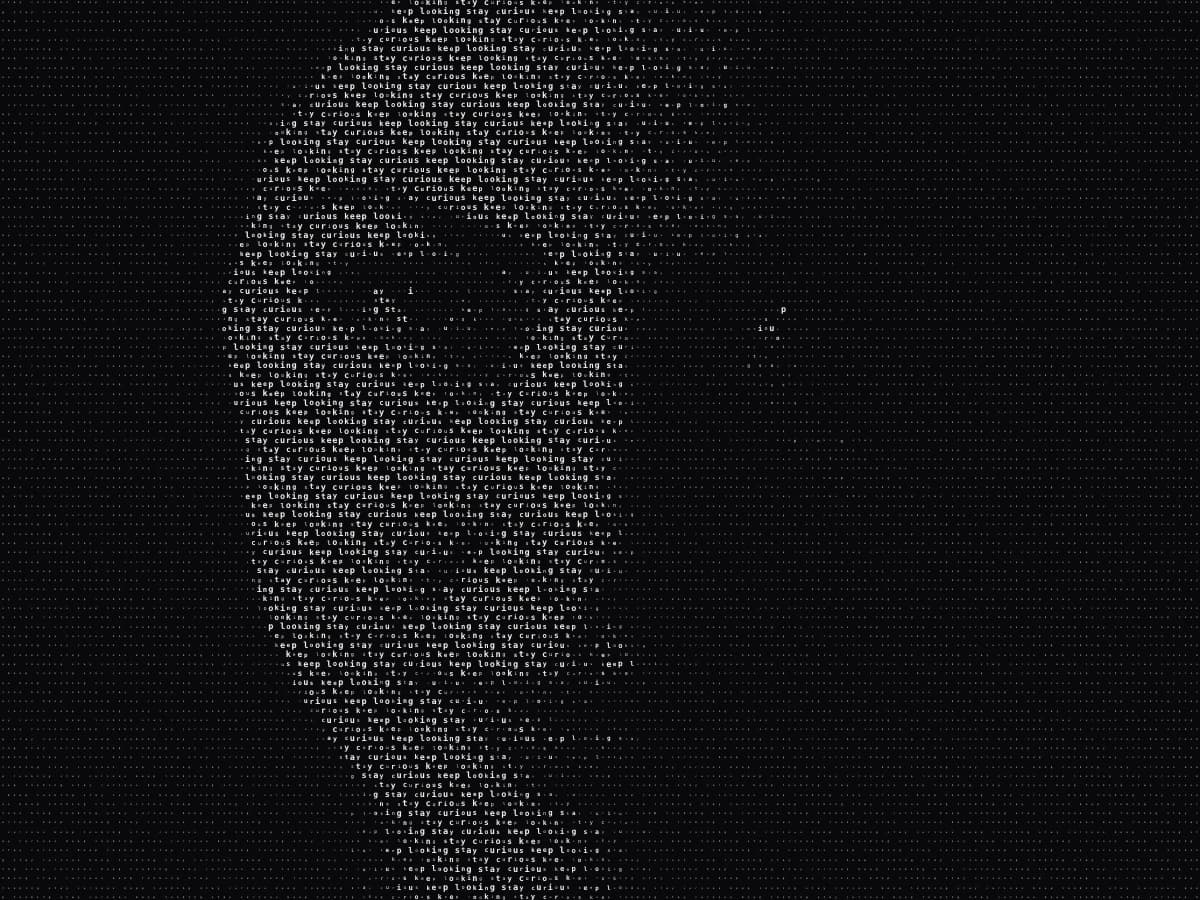
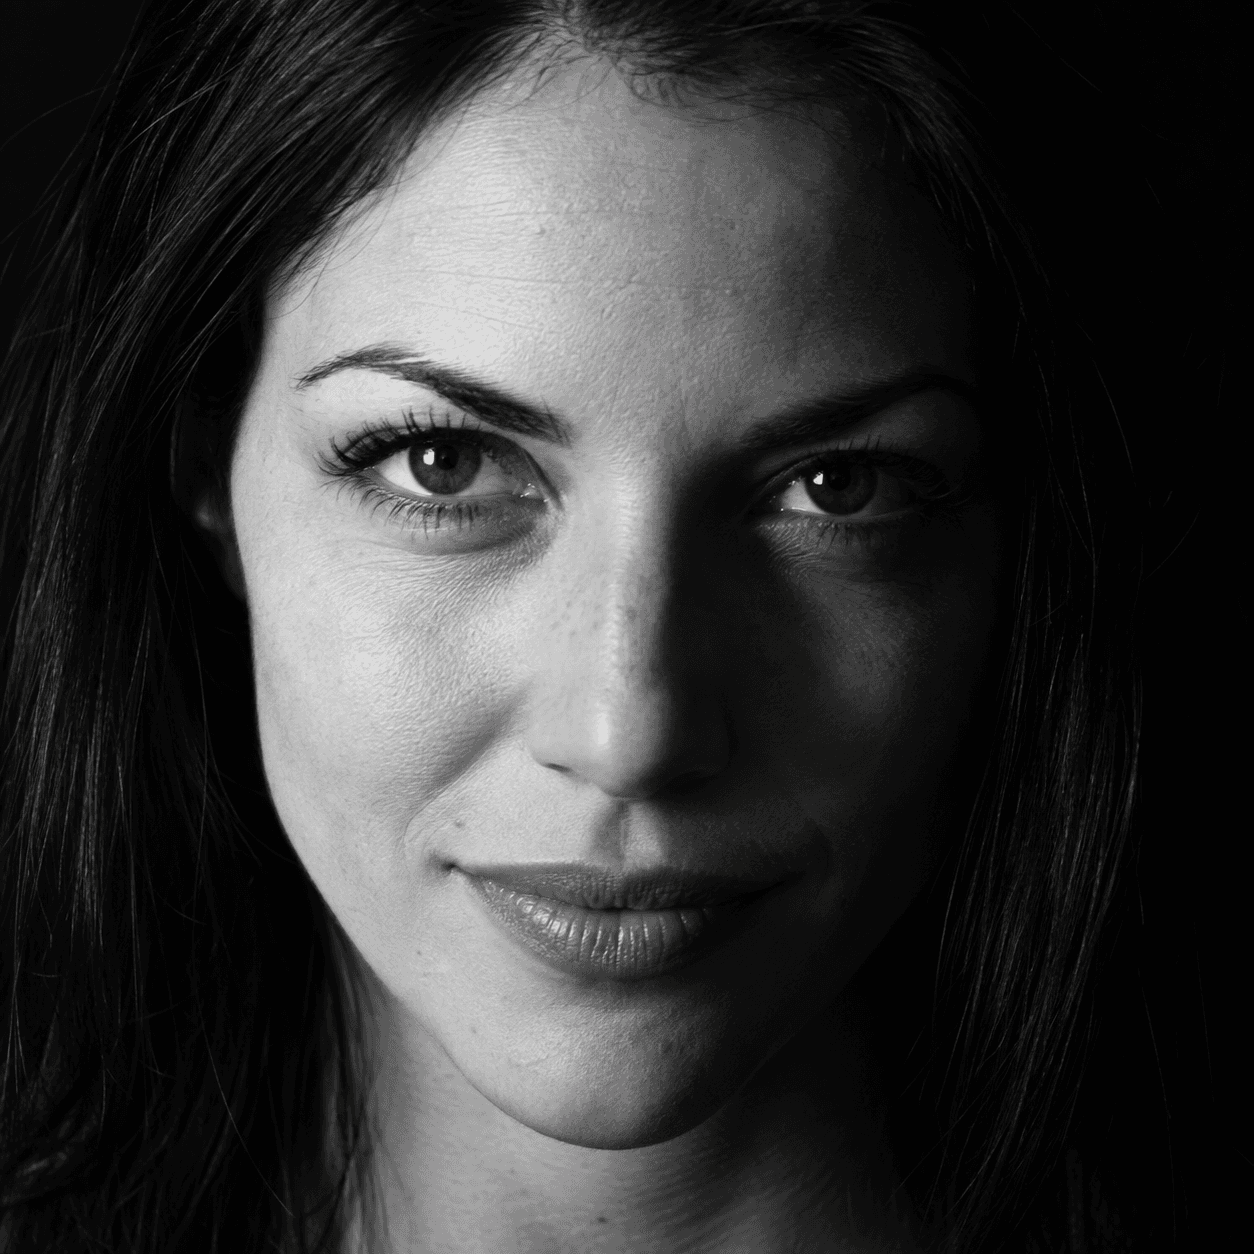
Drag to compare the photo and text portrait. Use arrow keys for small adjustments, Home for the result, or End for the original.
Start here: open this portrait in the ascii.cafe editor. The sample photo and all its settings will be ready in a new tab.
Open this look (opens in a new tab)Give the portrait a purpose.
Choose a phrase short enough to find in the picture: a nickname, a running joke, or something they always say. The face should read from a distance, with the words becoming clear as you look closer. You’ll balance those two things with the Density control.
You only need a photo and a few words. Try the supplied portrait first if you don’t have a photo ready. We’ll change the phrase, find the right amount of detail, and save a PNG.
Open the editor and choose a photo.
Open this look (opens in a new tab). Source is in the settings panel on the right. Scroll through the controls below the preview to Source. If they’re hidden, tap Show Controls. The sample portrait opens with Text Portrait already selected.
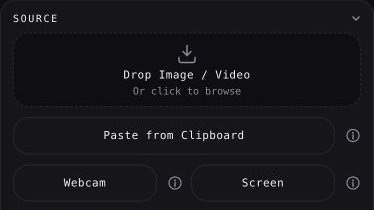
Keep the sample to try it first. To use your own photo, expand Source, click Drop Image / Video, and select an image from your device. Your photo replaces the sample in the preview. A close-up with a simple background works best; the background turns into words too.
Replace the words in Portrait Text.
Look below the artwork, in the Style picker. If the text field is hidden, open Characters settings. Below the preview, scroll to Style and expand it. The link has already selected Characters → Text Portrait. Find the Portrait Text box shown here and replace “stay curious keep looking ” with your phrase.
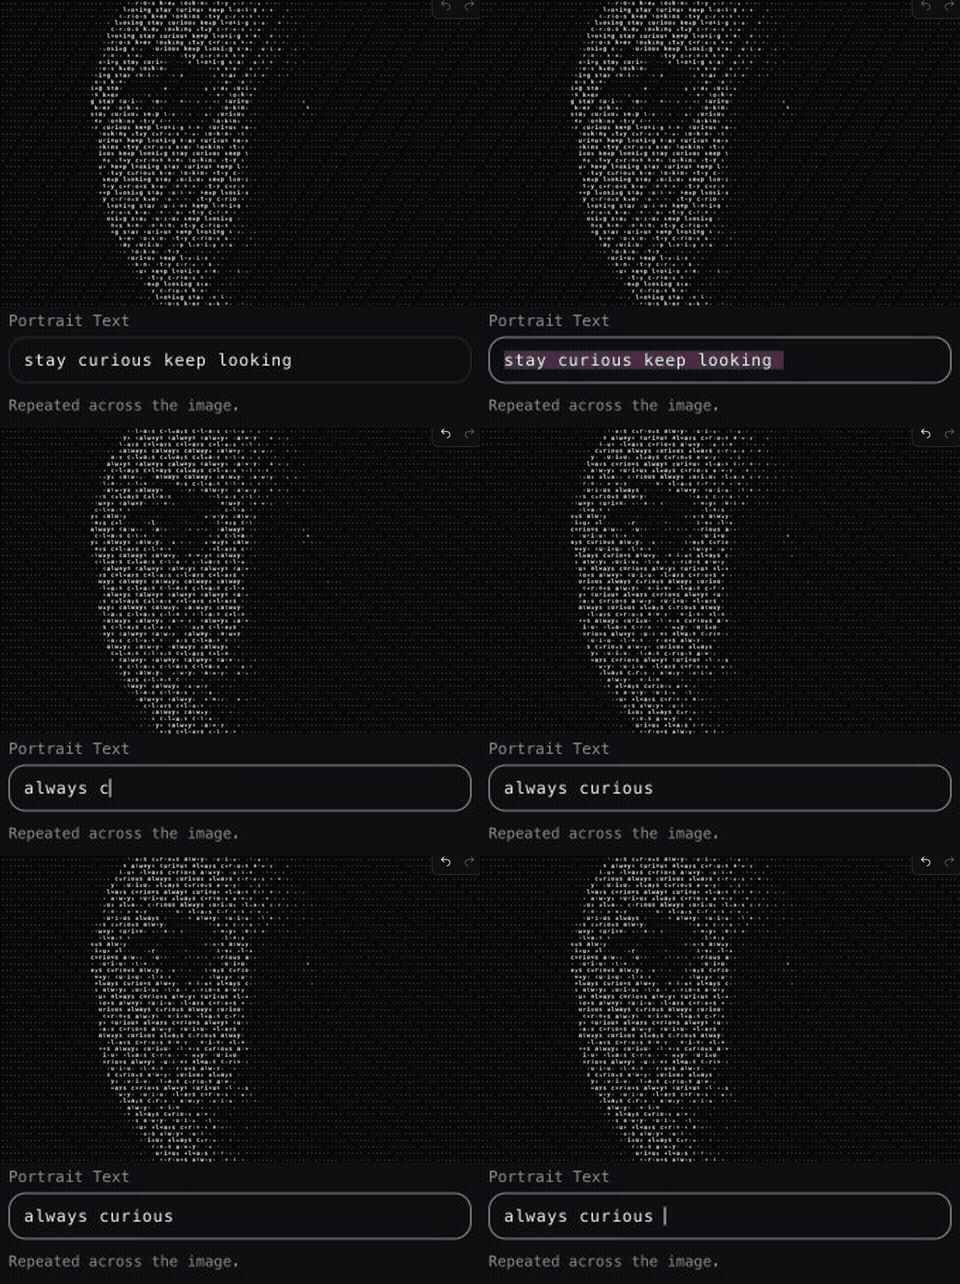
Try a nickname for a birthday card, or “always curious ” for your own portrait. Add a space at the end. The words on the face update as you type.
Adjust Density in Knobs.
Scroll down the right-hand settings panel to Knobs, below Colors. Scroll down the controls to Knobs, below Colors. Expand Knobs and move the Density slider. Move right for smaller letters and more facial detail; move left to make the words easier to notice. Watch the eyes in the preview as you adjust it.
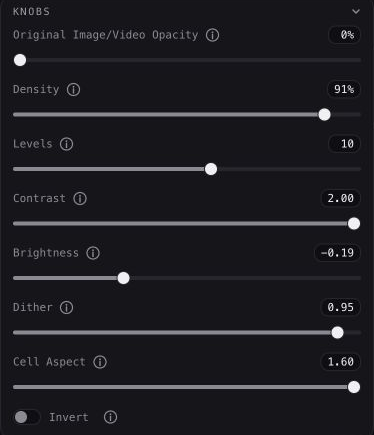
The settings shown here work for our photo. If yours looks too dark, lift Brightness a little. If the cheeks look noisy, turn Dither down. Change one thing, then look again.
Download it with Export PNG.
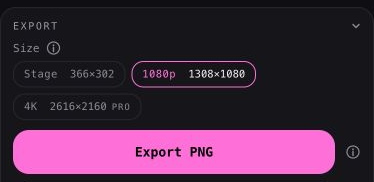
Scroll to Export at the bottom of the right-hand settings panel. Tap Export just below the preview to jump to the export controls. In Export, select 1080p under Size, then click Export PNG. The editor saves an image to your device; on a phone, follow your browser’s download or save prompt.
Use that PNG in your card design, upload it as a profile picture, or arrange a print. For a small avatar, check that the face still reads after cropping. For a print, inspect it at the intended size first.
MAKE IT YOURS
Who would you make one for?
Opens in a new tab.