Make a halftone gig poster from a photo
Turn a performer photo into a bold dotted portrait, then build a gig poster around it. Includes an editable layout for the name, date and venue.
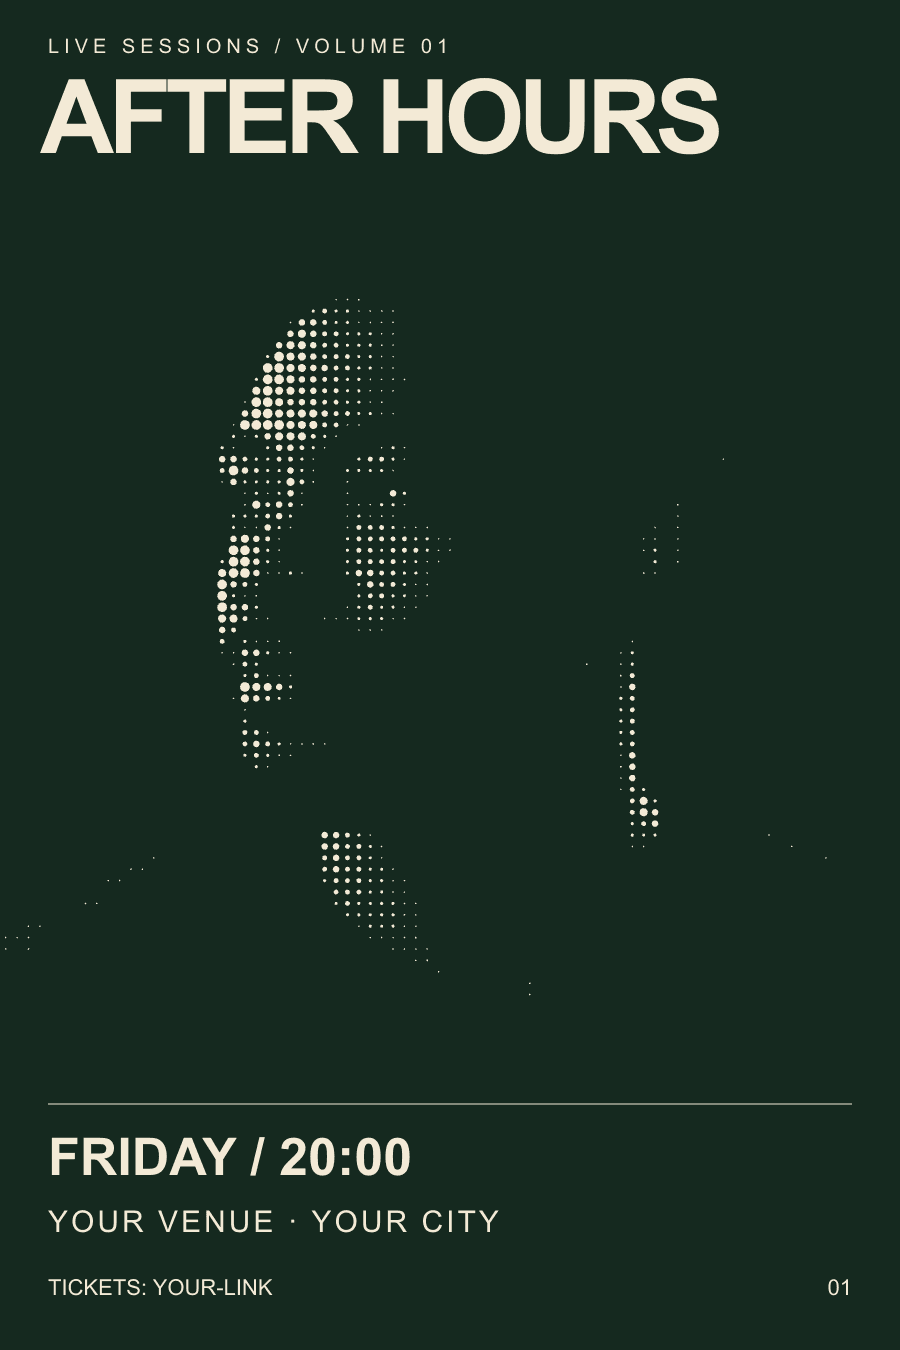
Open the portrait treatment in ascii.cafe. The event lettering is added separately in the downloadable poster layout below.
Open this look (opens in a new tab)Let the face catch the eye. Let the type do its job.
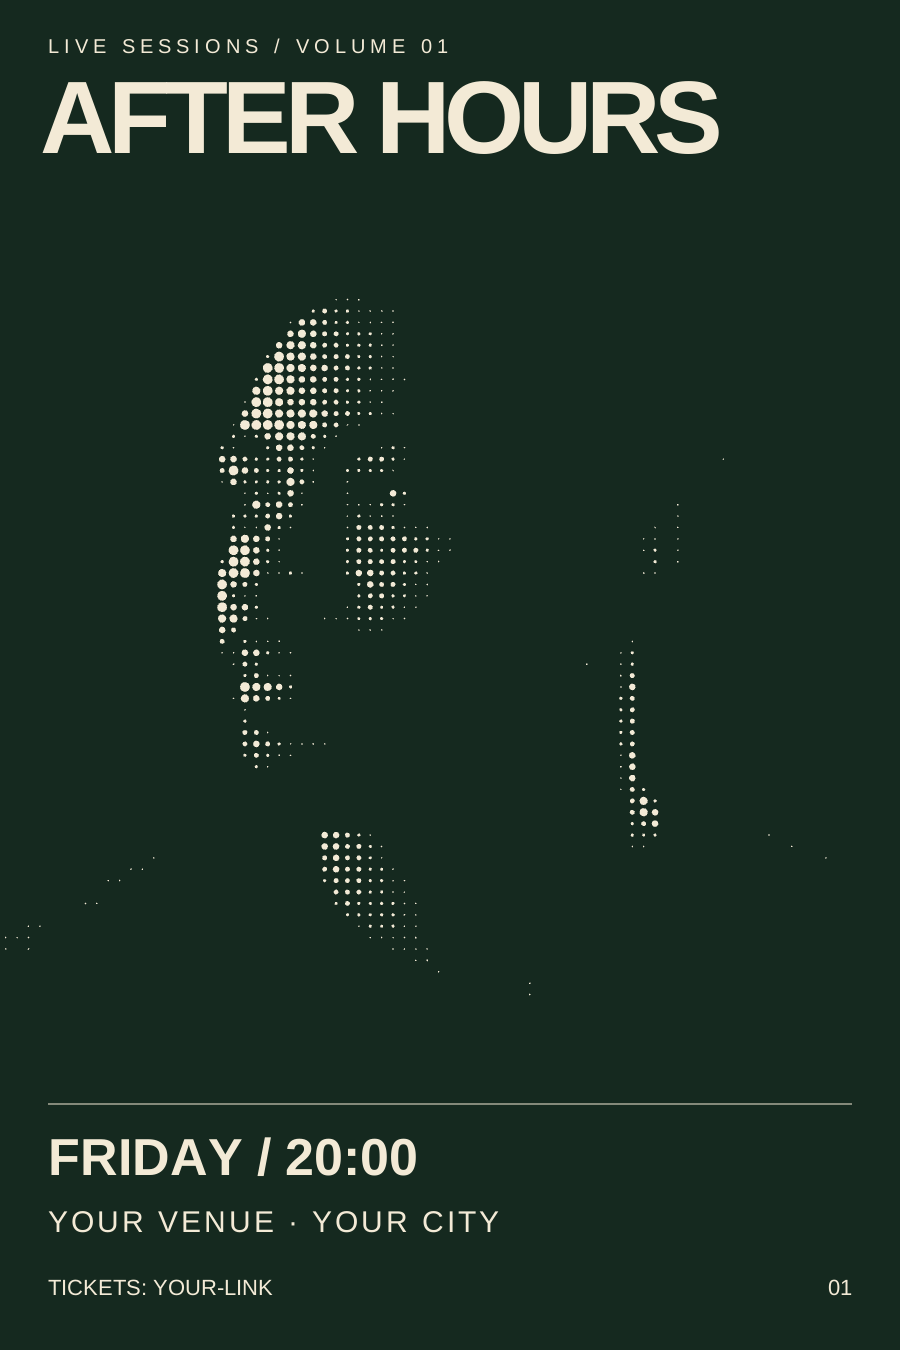
A gig poster has to work before someone stops to read it. A strong portrait gives them a reason to look; the performer’s name, date and venue tell them what to do next. Halftone reduces the photo to a few clear shapes, leaving room for the information. Our After Hours poster is a fictional example. Replace its event details before using it.
Use a portrait you have permission to publish, plus the event name, date, time and venue. A sample photo and editable SVG layout are included. You’ll make the halftone image in ascii.cafe, then put it into a finished poster layout.
Start with one clear subject.
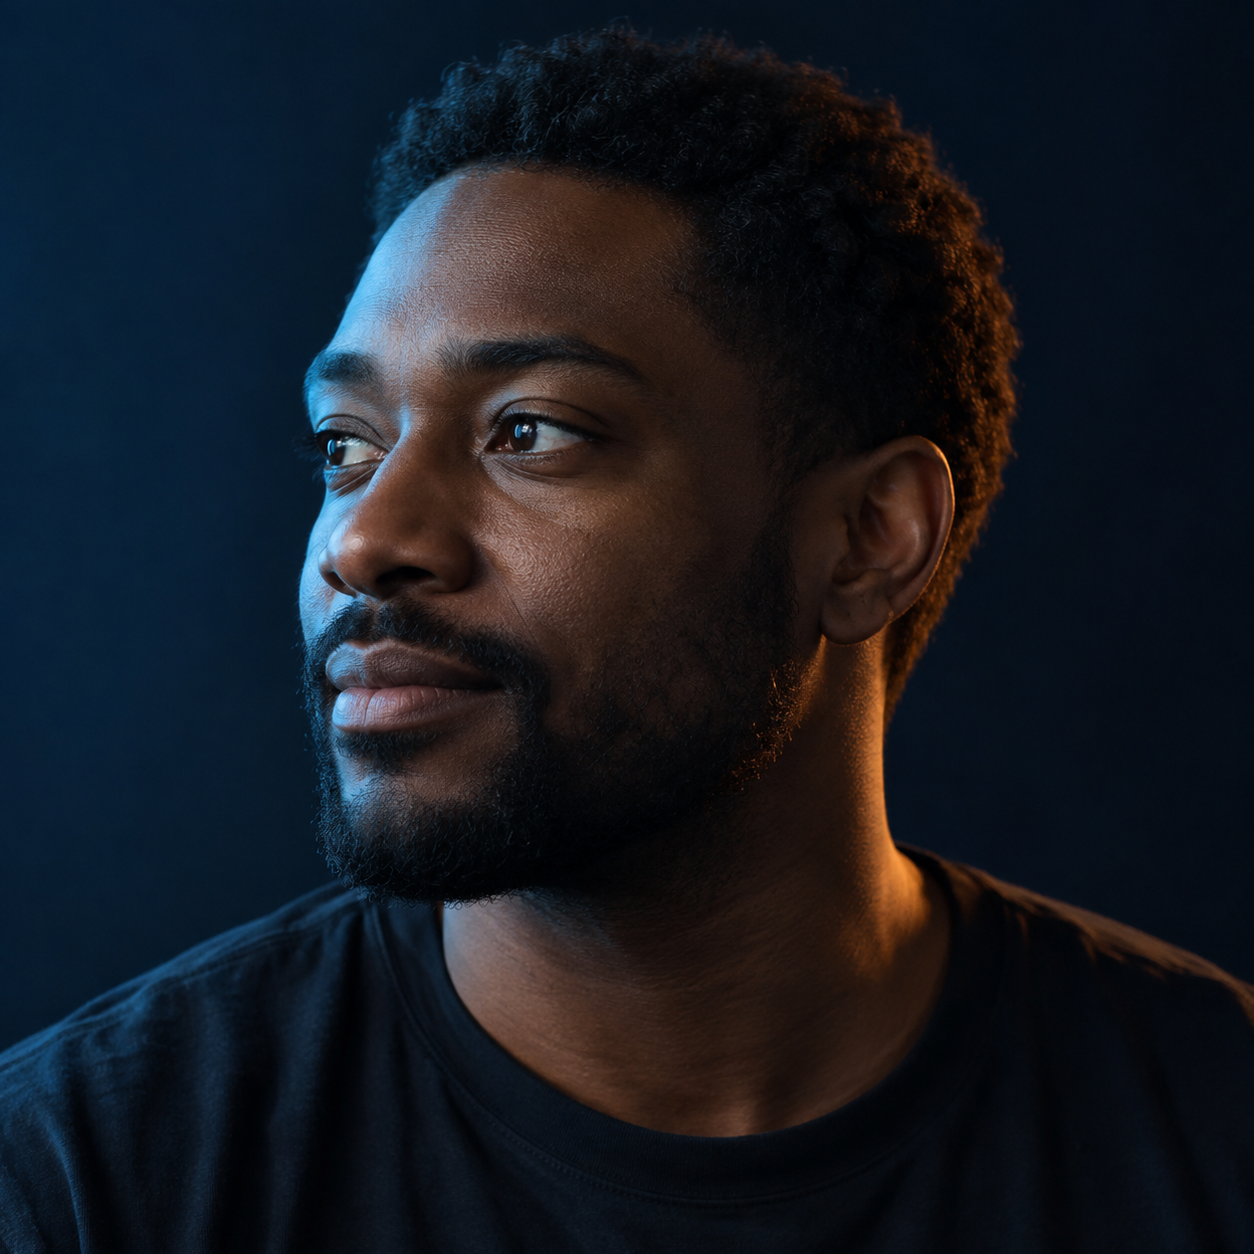
Open this look (opens in a new tab). Open Source near the top of the settings panel on the right. Scroll to the controls below the preview, then expand Source. Tap Show Controls first if they’re hidden. The sample portrait opens in cream on green. To use a performer photo, expand Source, click Drop Image / Video, and select your file.
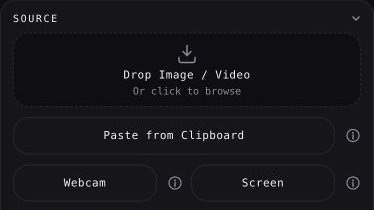
Choose a close-up with a clear face and some light across it. A busy crowd photo can work as texture, but it makes a weaker focal point. Crop your source photo first if you need to reposition the subject precisely.
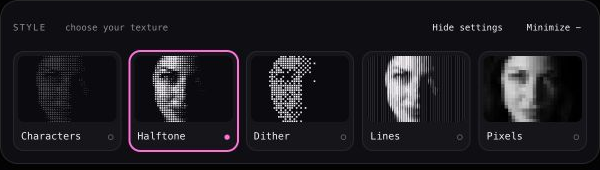
Choose Halftone for the portrait.
Find the Style picker below the artwork. Its settings open beneath the texture choices. In the controls below the preview, expand Style. Select Halftone in the Style picker. The sample already has it selected. The photo becomes a grid of round dots that change size with the light in the image.
Keep Discs Carry Value off for this example. In Colors, keep a light Foreground and a dark Background. You can swap the cream and green for your event’s colors, but check that the face still separates clearly from the background.
Choose dots that hold up at poster size.
Scroll down the right-hand settings panel to Knobs, below Colors. Scroll down the controls to Knobs, below Colors. In Knobs, move Density left for larger dots or right for finer detail. The sample uses 28%. Watch the eye and the edge of the nose: they should still describe the face without needing every photographic detail.
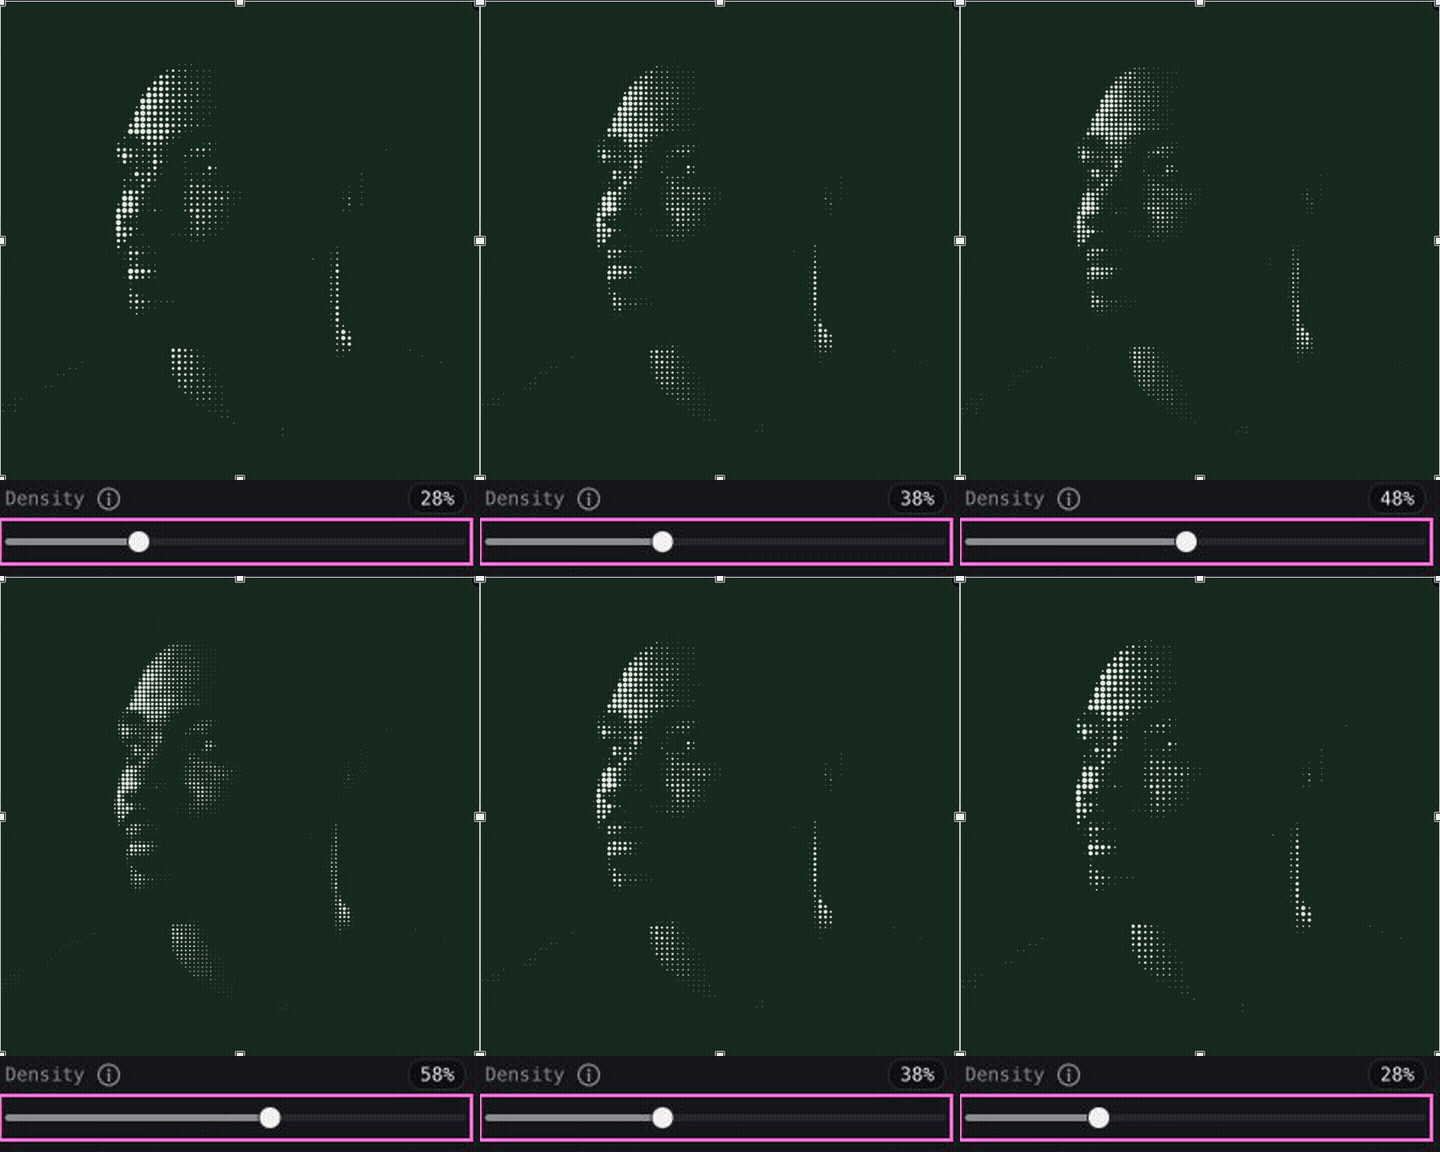
Raise Brightness a little if too much of the face disappears. Reduce Contrast if the highlights become one solid patch. Check the image small as well as large; a good poster needs to read in a feed too.
Save the treated photo.
Scroll to Export at the bottom of the right-hand panel. Tap Export below the preview to jump to the export controls. Choose 1080p under Size, then click Export PNG. Save that file for your poster layout. The free PNG is clean, without a stamp.
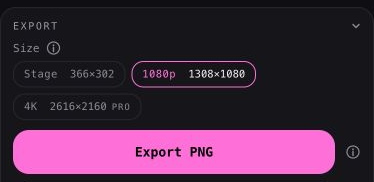
For a physical print, check the pixel dimensions against the size your printer needs before committing. A file that looks good in a social post may not have enough detail for a large print. The dots are part of the image; enlarging it also enlarges them.
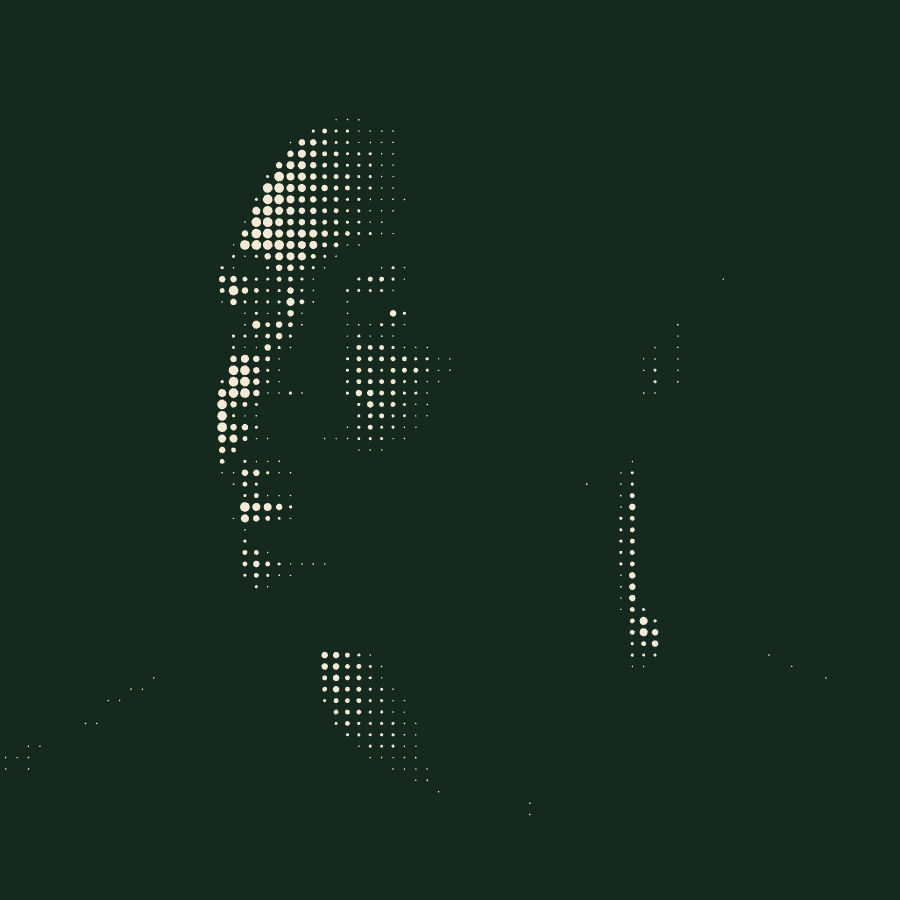
Finish with the supplied poster layout.
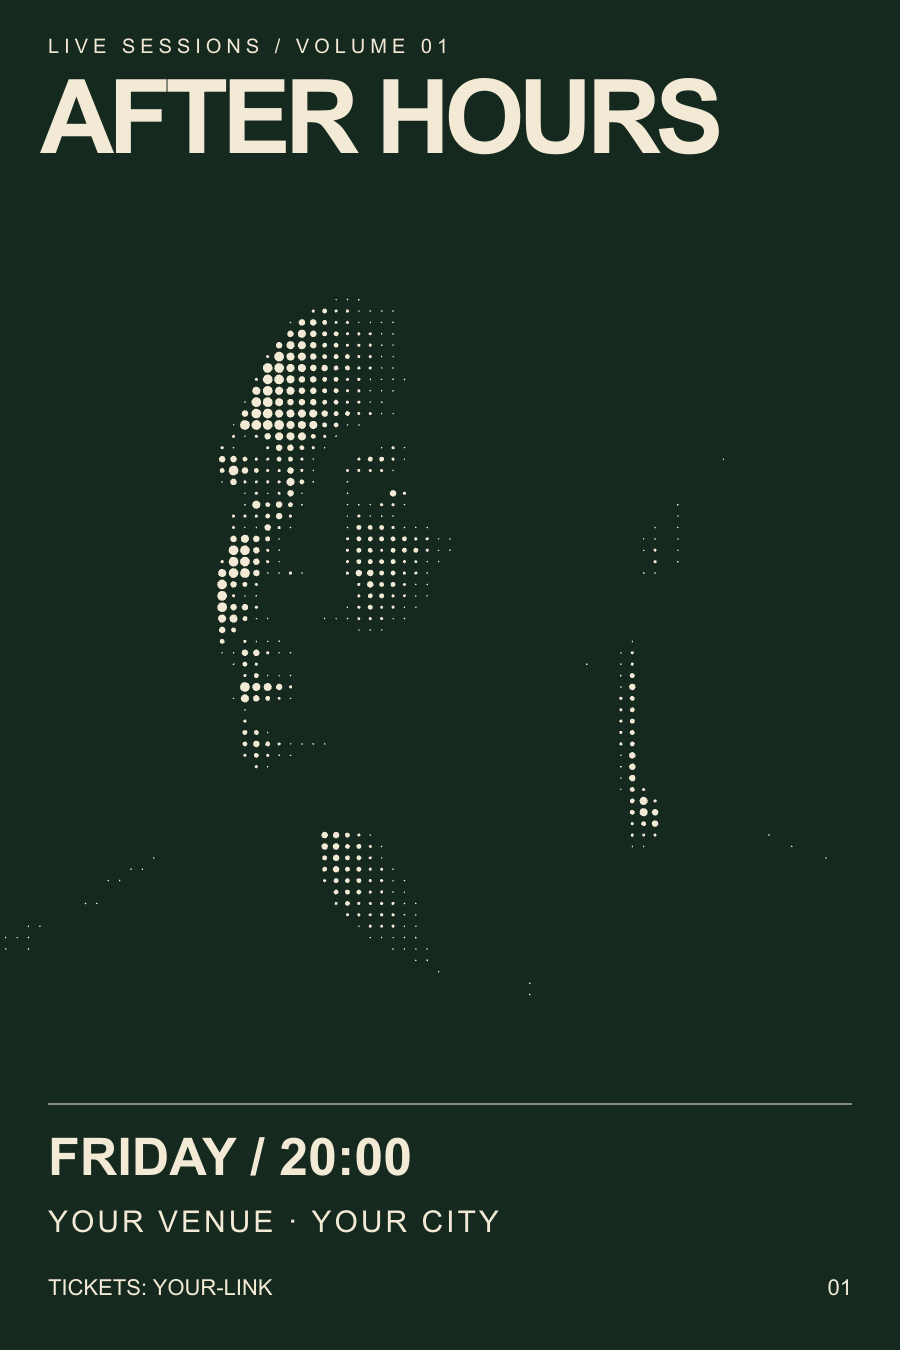
Download the SVG below and open it in a vector editor, or place the exported PNG in your usual layout tool. Save the poster PNG for reference. Add your photo and event details in a mobile layout app; use a desktop vector editor to edit the SVG. The image treatment is ready. The remaining layout work happens in another app: use the SVG if you’re comfortable editing text and replacing images in a vector editor, or use the PNG as a reference in your usual design tool. The SVG has editable text and the sample portrait embedded. Replace AFTER HOURS with the performer or event name, then update FRIDAY / 20:00, the venue, city and ticket link. Swap the embedded image for your own exported portrait.
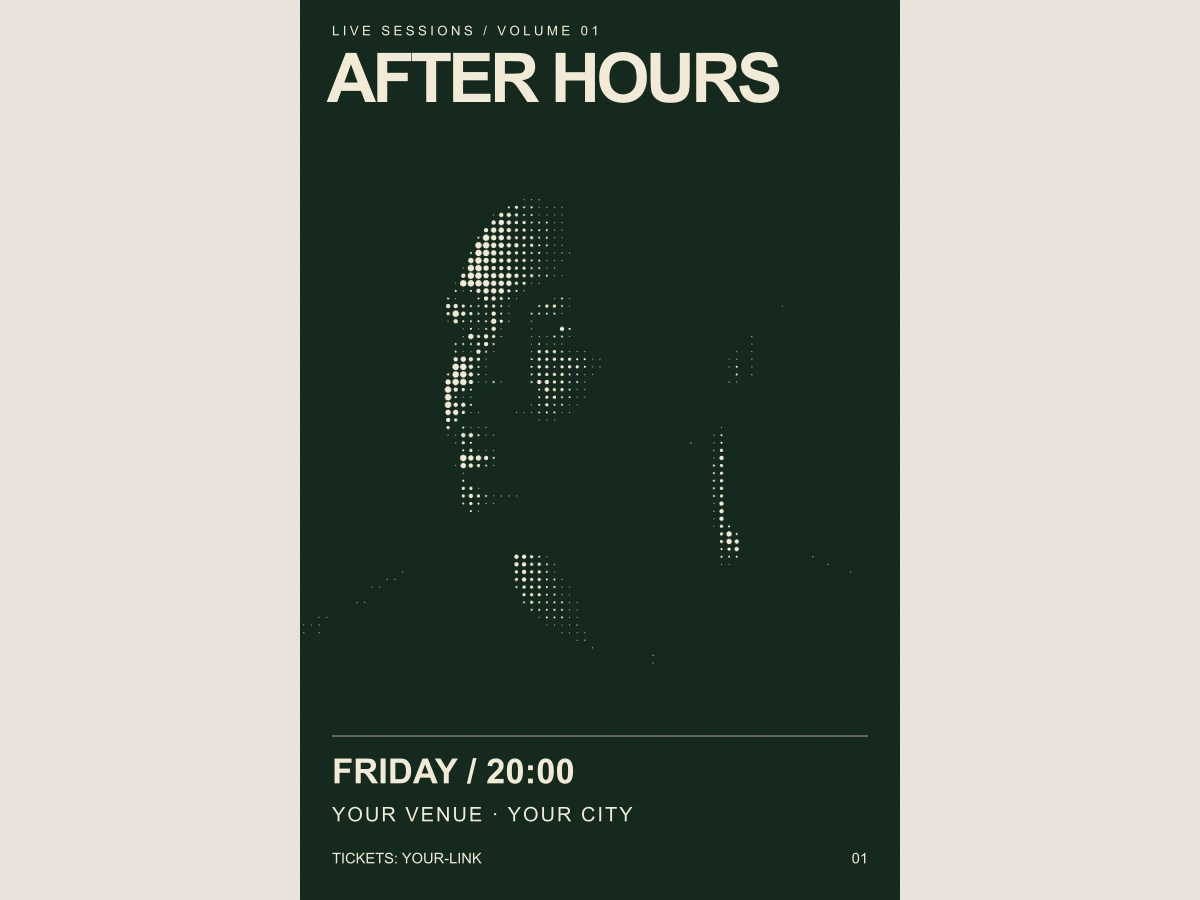
Keep the name large and give the details a plain background. Don’t put a date across the busiest part of the face. Before exporting, read the poster at phone size and check every event detail. The finished example below was assembled outside ascii.cafe; the app supplies the halftone image.
MAKE IT YOURS
Make the portrait for your next show.
Opens in a new tab.